This article shows how to install WordPress with docker for local development (on either Windows, MAC or Ubuntu) and for online production.
The installation tool kit and setup files include:
- WordPress files
- MariaDB/MySQL used for WordPress database
- phpMyAdmin interface to connect to your MySQL database
- WP-Cli: WordPress Command Line Interface
- Makefile directives for automatization.
You will learn:
- WordPress Docker directory structure
- Docker-compose and Wp-Cli configuration files
- Installing WordPress using docker-compose
Contents:
Quick start
You can automatically deploy a local docker wordpress site in 5 minutes using the following commands. Two options are available: make command and docker-compose standard commands.
# Download a wordpress docker-compose example
git clone https://github.com/kassambara/wordpress-docker-compose
cd wordpress-docker-compose

# Use make command for automatic installation and
# configuration of wordpress
make autoinstall

# Or, use docker-compose standard commands
docker-compose up -d --build
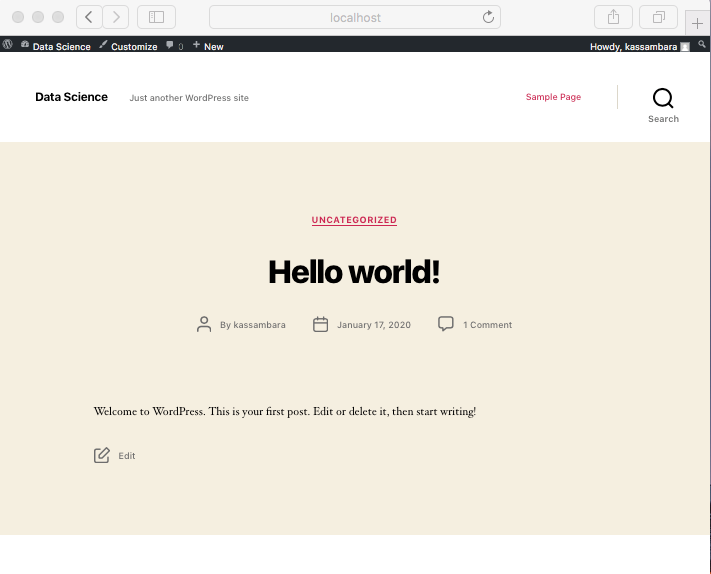
docker-compose -f docker-compose.yml -f wp-auto-config.yml run --rm wp-auto-config- Visit your wordpress website at http://localhost. Default identification for admin (http://localhost/wp-login.php):
Username: wordpressandPassword: wordpress

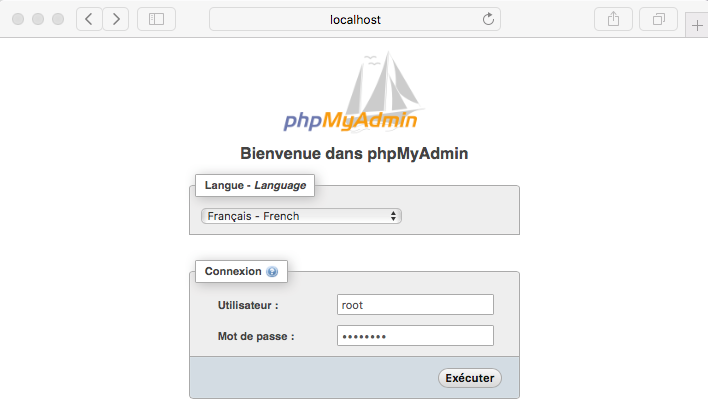
- Visit your database via phpMyAdmin at http://localhost:8080
Username: rootandPassword: password

Shutdown and cleanup
# Stop and remove containers
docker-compose down
# Build, and start the wordpress website
docker-compose up -d --build
# Reset everything
docker-compose down
rm -rf mysql/* wordpress/*
Note that, instead of using the above docker-compose commands, you can also use easily the following make shortcut command lines if you have Unix systems (MAC / Linux).
# Build, and start the wordpress website
make start
# Stop and remove wordpress docker containers
make down
# Reset everything
make reset
Version:
 Français


No Comments